
Scrubbing the bathroom floor doesn’t exactly sound like a fun time but hey, it needs to be done – so might as well do it right. One key step to getting those tiles sparkling clean is choosing the right products, and we’ve got just the suggestion for you. Read on and learn how to clean your bathroom (and shower) floors the natural way.
Why Use Natural Cleaners for Bathroom Tiles?
At Orbies, we’re all about going natural. Well, we’re all about going probiotic, to be specific, but more on that shortly.
If you’ve read our article about chemical vs natural cleaners, you know why the latter is the smarter pick. But if you haven’t, or need a bit of a refresher, natural cleaning products are:
- Free from harmful chemicals and made only with simple, eco-friendly ingredients
- Far less likely to trigger allergies, asthma and other unwanted health reactions
- Safe for the kids (whether human or furry)
- Cost-effective, since they often last longer than conventional cleaners
- Kinder to our planet
- Able to effectively remove residue and grime
Plus, certain bathroom floor surfaces are a bit more delicate than usual – and cleaning them with chemical-laden solutions can cause long-term damage.
Natural stone, for example, can be stained when in contact with acidic cleaners. Vinyl is another one – use harsh chemicals too often and you may notice the colour fading away. If you have glazed ceramic tiles, you also want to steer clear of chemical products, as the grout between them can easily absorb the toxic ingredients and, over time, you’ll start to see the damage.
What Is the Best Natural Cleaner for Tile Floors?
Remember when we said we’re all about going probiotic? Although traditional cleaning products have made us all believe that the ultimate goal of cleaning is to “kill 99.9% of all bacteria,” it’s not all that simple.
Did you know, for example, that chemical products kill good bacteria along with (some) harmful ones? Or that the remaining 0.1% of bacteria they leave behind can mutate and lead to infections?
That’s exactly why we recommend probiotic cleaners for tile floors. They go one step further than conventional products or DIY solutions, and starve bad bacteria for nutrients and space – preventing them from multiplying.
Using a probiotic cleaner on your bathroom floor allows good bacteria to colonise the area and leave less room for usual suspects like mould and fungi to take hold, while also breaking down existing biofilms formed by these harmful microorganisms.
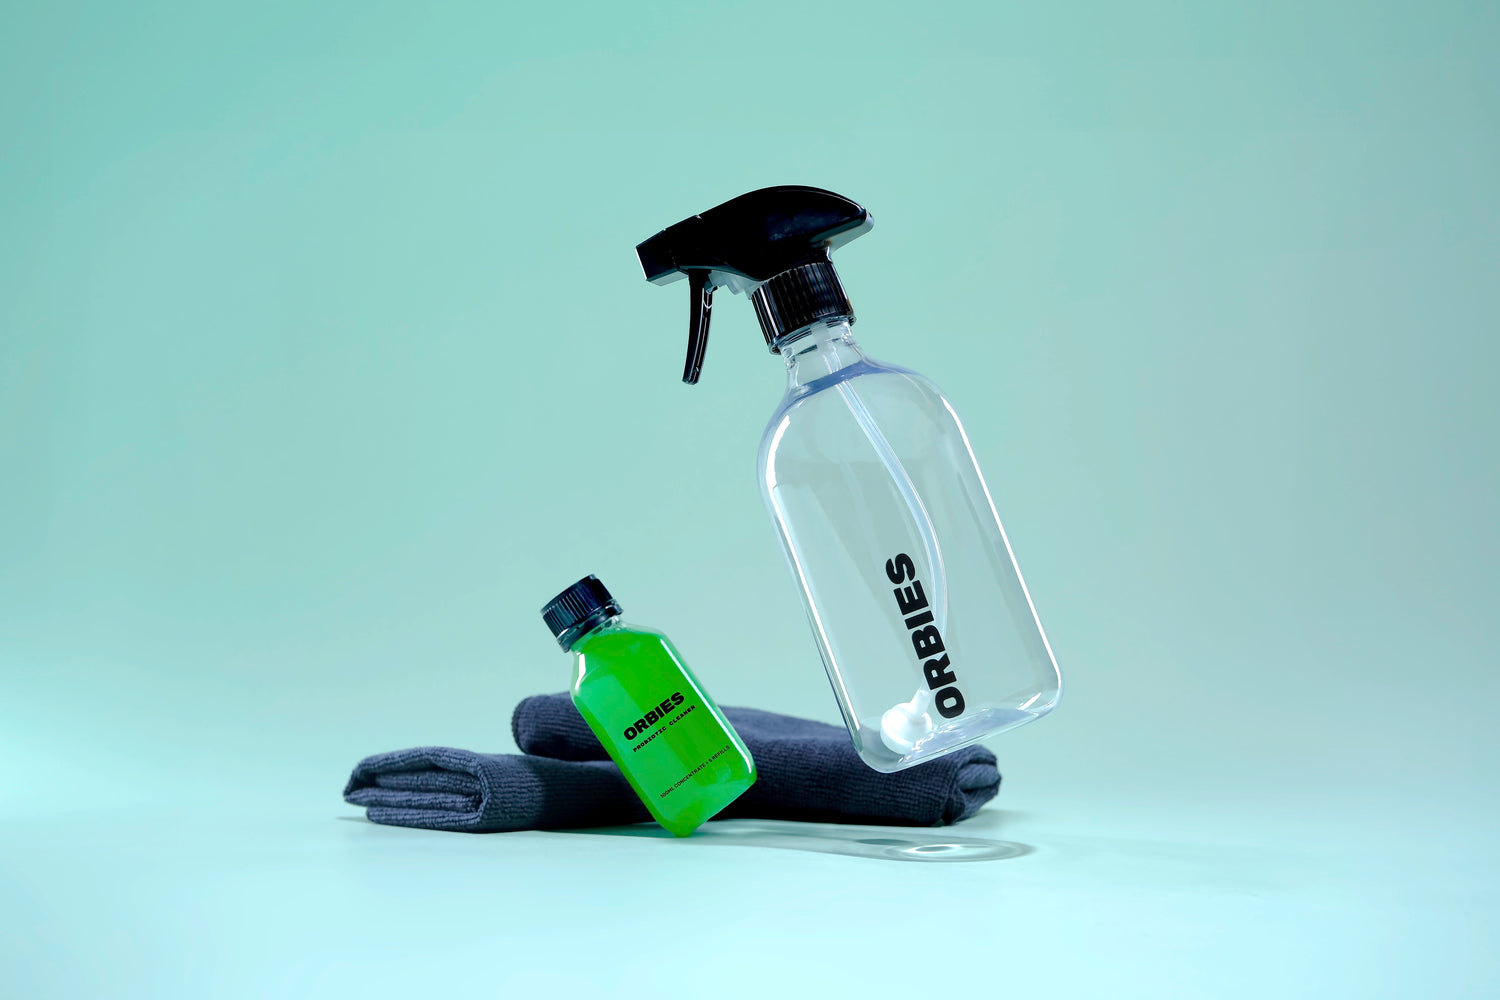
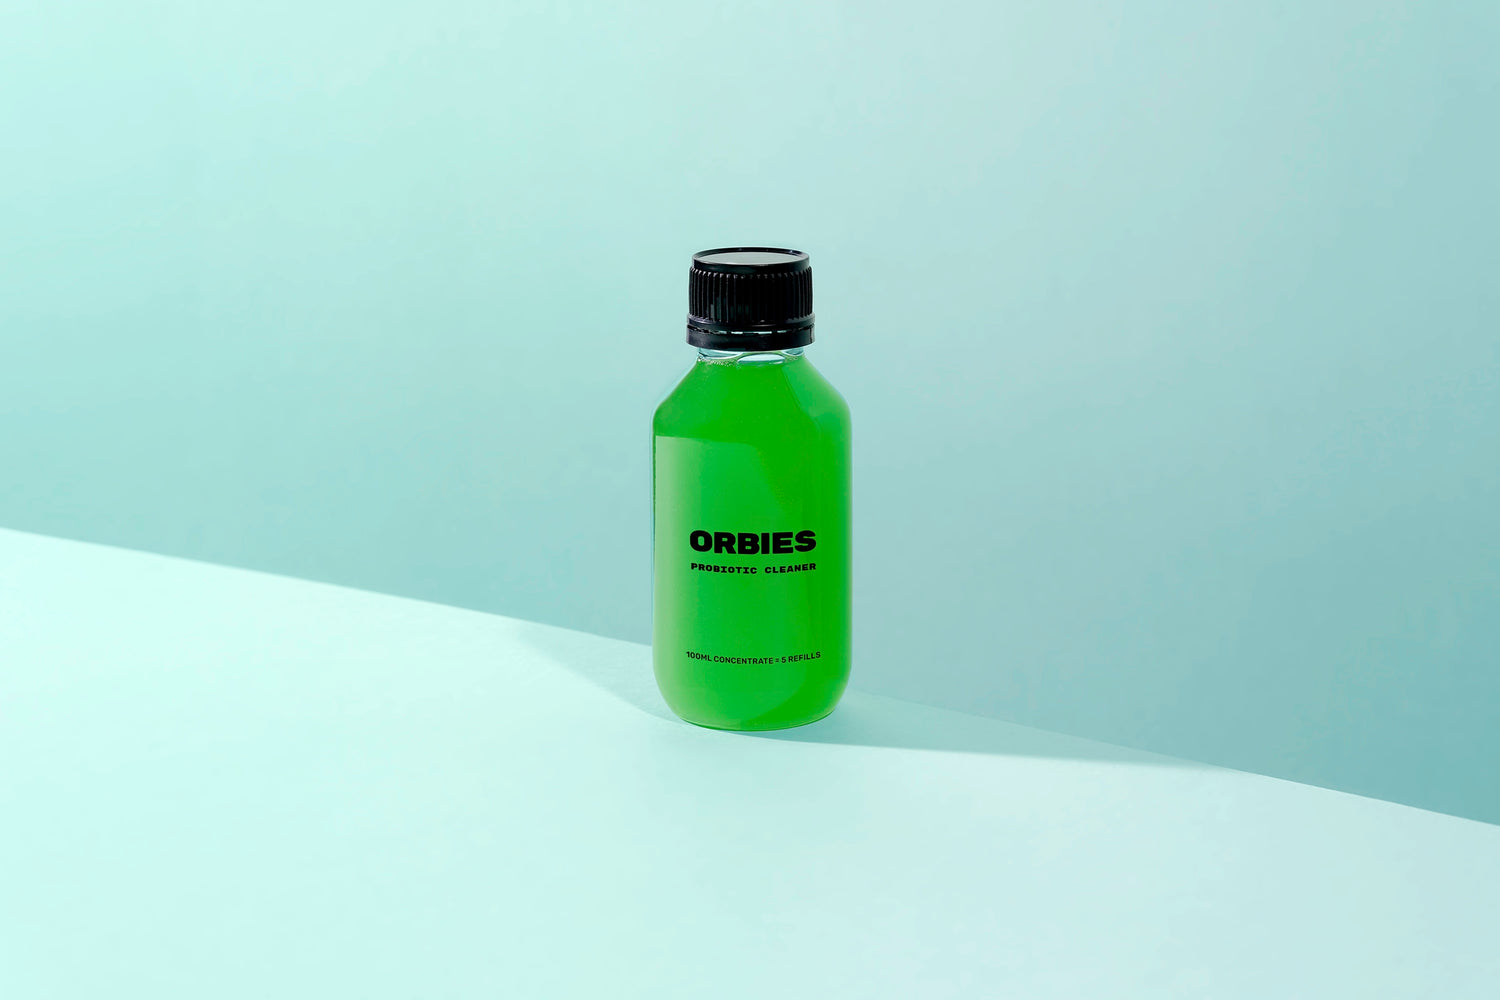
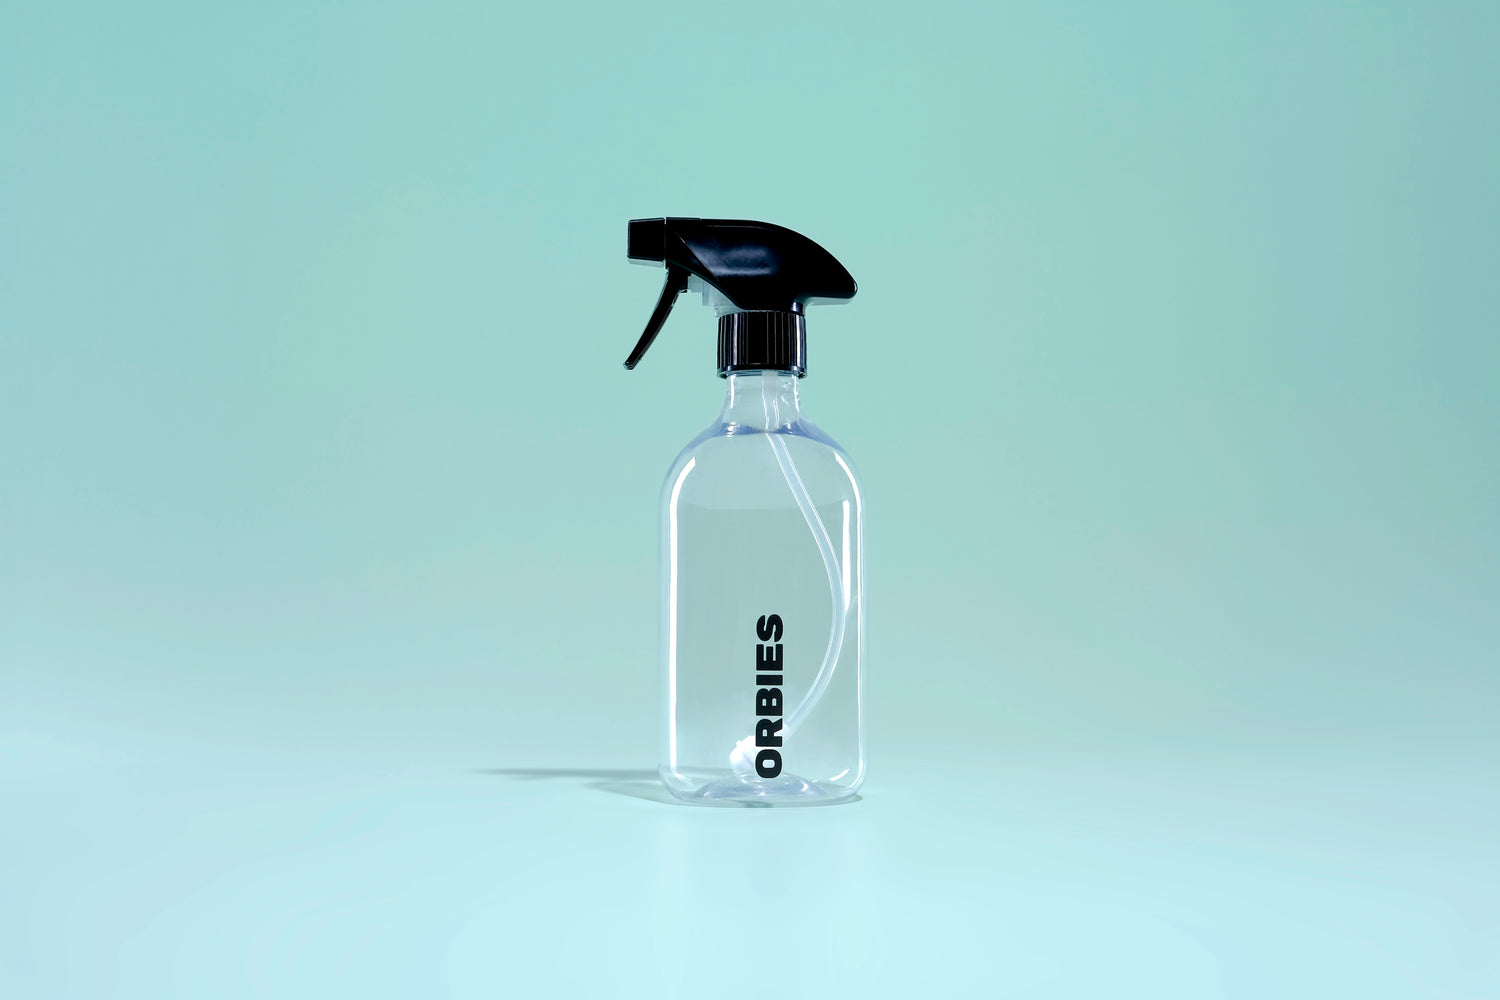
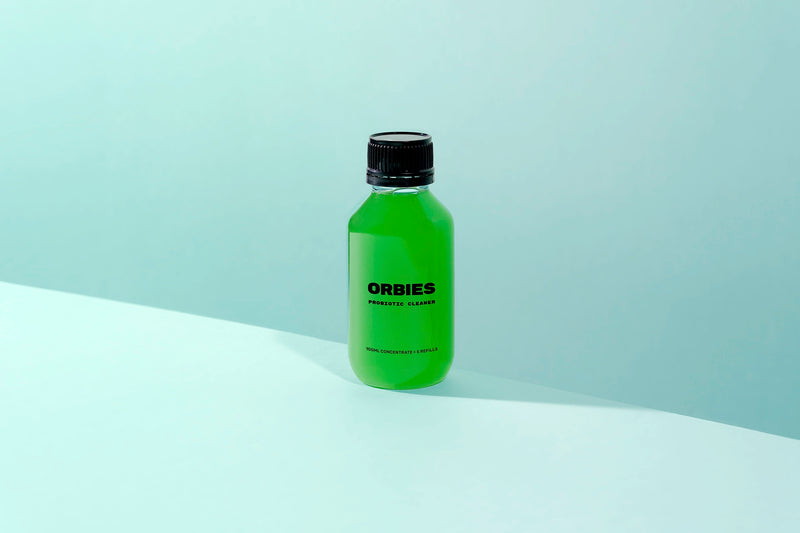
Our Universal Probiotic Cleaner does just that, fostering a healthy microbiome on all your surfaces. It cuts through dirt, grime, mould, and odour at a microscopic level and continues to clean for up to 3 days. The best part? You can use it not only on the floor but also on the shower, mirrors, toilet, sink… the entire bathroom, is what we’re saying.
Steps to Clean Bathroom Floor Tiles Naturally
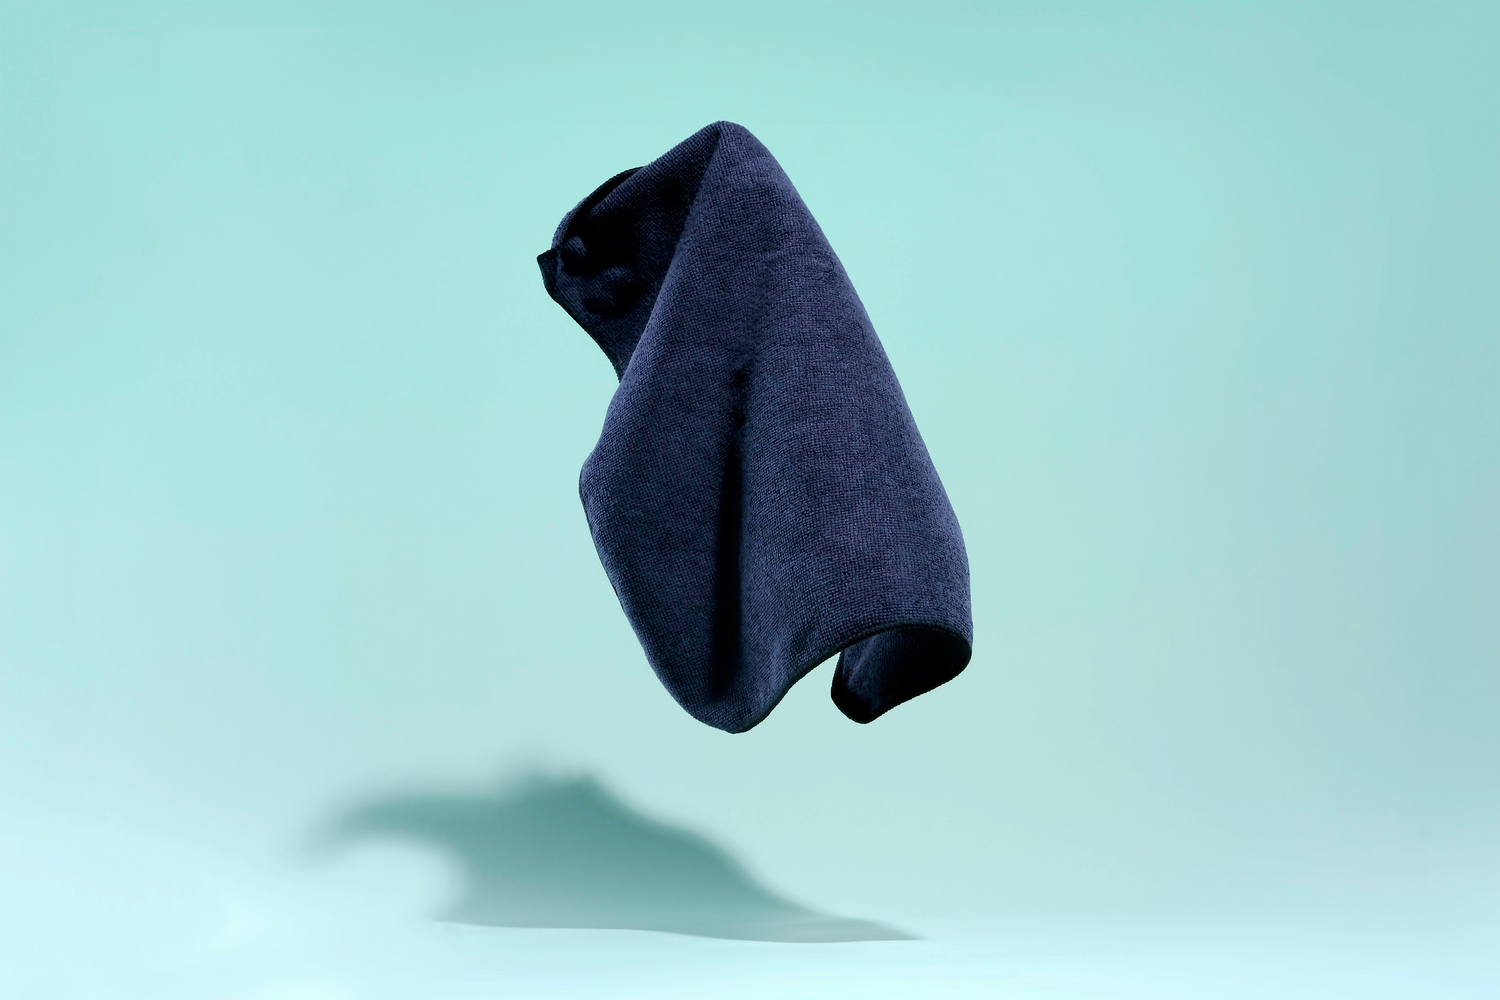
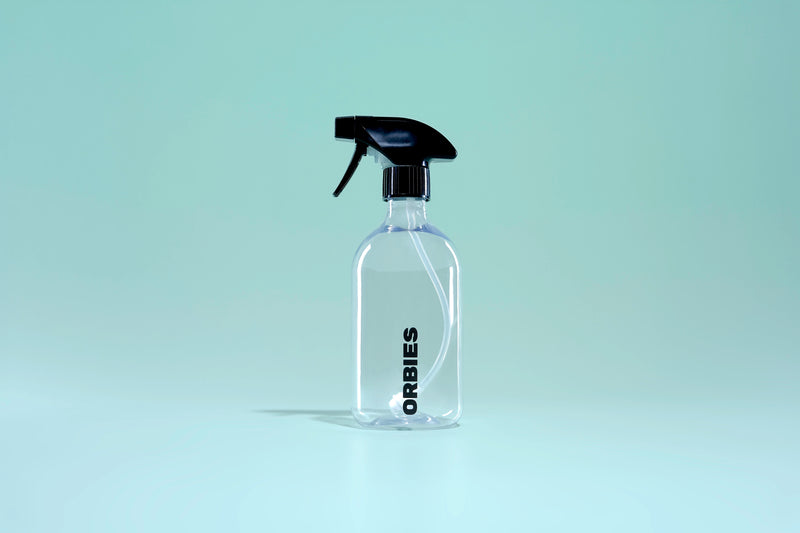
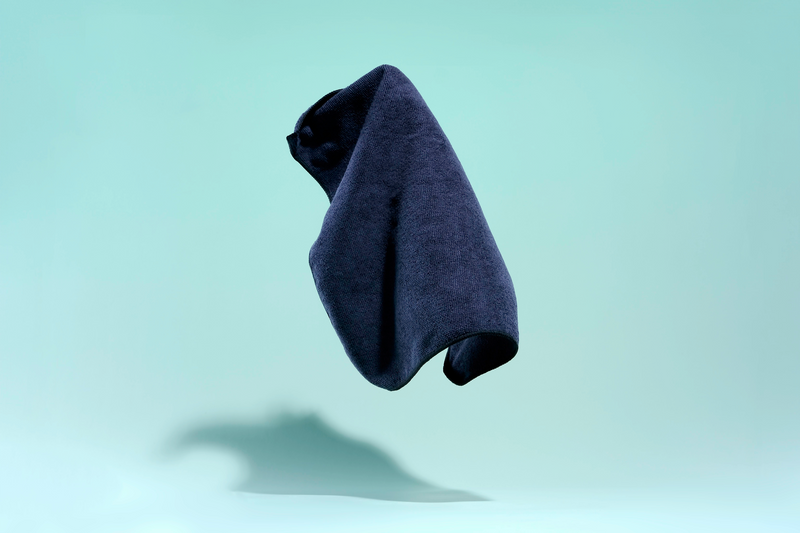
Cleaning your bathroom floor doesn’t have to be a chore. In fact, five simple steps should get the job done. You’ll just need a vacuum cleaner or broom, a mop, a microfibre cloth, water and a cleaning product.
- Prepare the area by getting everything out of the way.
- Sweep or vacuum to get rid of any loose debris.
- Grab your Universal Probiotic Cleaner and dilute 5ml in 1 litre of water in a bucket or mop vessel.
- Mop the floor away and let it air dry. For any grimy corners that need extra attention, you can always use a brush (even an old toothbrush will do!).
- Finally, give the floor a once-over with a microfibre cloth.
Once you're done mopping, you can also flush the leftover water into your toilet to give your septic system or BioCycle a boost in probiotics. Two birds, one stone.
And no need to worry about polluting our waterways. Once discarded, the probiotics continue to engage in the wastewater and sewage systems, reducing water pollution and significantly lowering the toxic burden.
How to Clean Shower Floors Naturally
The process of cleaning shower floors is quite similar to the rest of the bathroom and you need the exact same supplies we listed before. Once again, five steps and your shower floor will be spotless:
- Get everything out of the shower – the body wash, loofahs, shampoo bottles, razors… all of it.
- In a bucket, mix 5ml of the Universal Probiotic Cleaner with 1 litre of water and mop the floor
- Grab a scrubbing brush (or old toothbrush, you know the drill) and clean the grout.
- Rinse the shower floor (including the grout) with warm water to clear away any soapy residue.
- Use a microfibre cloth to dry the floor and buff away any areas that need a little extra shine.
Tips to Make the Clean Last Longer
- Clean regularly – Once a week is enough to keep scum from building up. This will make future deep cleaning a lot easier.
- Dry the floor after each shower – A quick wipe with a towel will help to prevent water stains and mildew growth.
- Keep the bath mat dry – The moisture trapped in the mat can very easily seep into the floor and cause the issues we just mentioned before – water stains, mildew, and the like. Remember to hang it to dry once everyone is done showering.
- Use a microfibre mop – Unlike cotton mops, microfibre ones can trap dirt effectively without leaving streaks.
- Ventilate – Humidity is often synonymous with mould and grime. No, thanks! To prevent this, crack the bathroom window open or turn the exhaust fan on.
- Seal the grout every 6 months – Grout sealer is a game-changer. It creates a barrier against dirt, soap scum and any other gunk, preventing those nasty dark stains from building up.
Keep Your Bathroom Tiles Fresh and Chemical-Free
There you have it – keeping your bathroom floors clean doesn’t have to be a 15-step process and you certainly don’t need an armful of fancy cleaning solutions. So, grab that probiotic cleaner and give your bathroom the (natural) TLC it deserves!